DIY Acrylic invite UV-Dtf transfers
DIY Acrylic invite UV-Dtf transfers
Couldn't load pickup availability
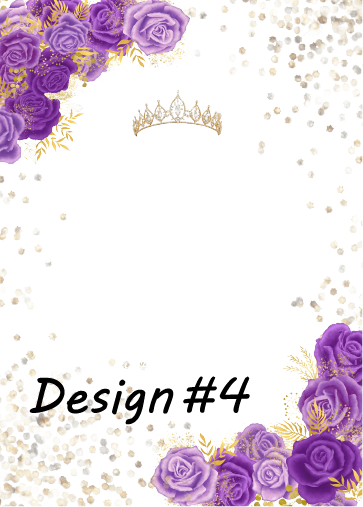
Custom UV DTF for 5x7 invites! – Just Upload 1 High Quality Design and we,ll take care of the rest, You can always email us to get help with your design at Sales@dtfmasters.com
We wont print and ship your order before making sure the file looks good to go
To make your invites look more premium we have added color on both sides of the design, when you apply it you will be able to see both sides of the acrylic have color vs the ugly old white backing
These are only the UV sticker to apply to your own acrylic or plastic invites sized 5x7inches
Preferred PNG file with Transparent background and 300 dpi
if it has a solid background we will send you an email if we are able to remove the background for you or if it needs to be sent to our designer
Upload your ready-to-print 5x7" design, choose your quantity, and let us handle the rest. We print your file with vibrant, high-gloss UV DTF technology for a stunning, professional finish. Perfect for weddings, birthdays, events, and more!
✅ Printed using premium UV DTF for extra pop and durability
✅ Size: 5x7 inches
✅ Just upload your file and select quantity – no edits, no design work
✅ Fast turnaround under 24hr, If Design is ready to print it will ship same day if you place the order before 1pm pacific time
:
💡 How to Apply UV DTF Transfers to Acrylic Invitations
What You’ll Need:
-
Your acrylic invitations (clean and dry)
-
Your UV DTF transfer (from us!)
-
Squeegee or credit card
-
Lint-free cloth or alcohol wipes
🔹 Step-by-Step Instructions:
-
Clean the Acrylic
Wipe the acrylic surface with an alcohol pad or lint-free cloth to remove dust, oils, or fingerprints. Let it dry completely. - You can also spray the surface of the acrylic and apply we but you will need to wait until is completely dry to remove and that could take a while
-
Peel the Backing
Carefully peel off the white backing layer from the UV DTF transfer. The design will stay on the clear carrier sheet. -
Align the Design
Position the sticky side of the transfer onto the acrylic surface. Be precise—once it sticks, it’s hard to reposition. -
Press & Smooth
Use a squeegee or credit card to firmly press the transfer down. You can work your way from the top down keeping the transfer perfectly aligned making sure it comes out straight -
Peel the Clear Film
Slowly peel back the clear carrier sheet at a sharp angle. Your design should stay on the acrylic. If any part lifts, lay the film back down and press again. -
Done!
Your acrylic invitation is now professionally printed and ready to impress.
Pro Tips:
-
Apply in a dust-free environment for best results.
-
Use gloves to avoid fingerprints.


